
Understanding Spray Foam Removal London
What is Spray Foam Insulation?
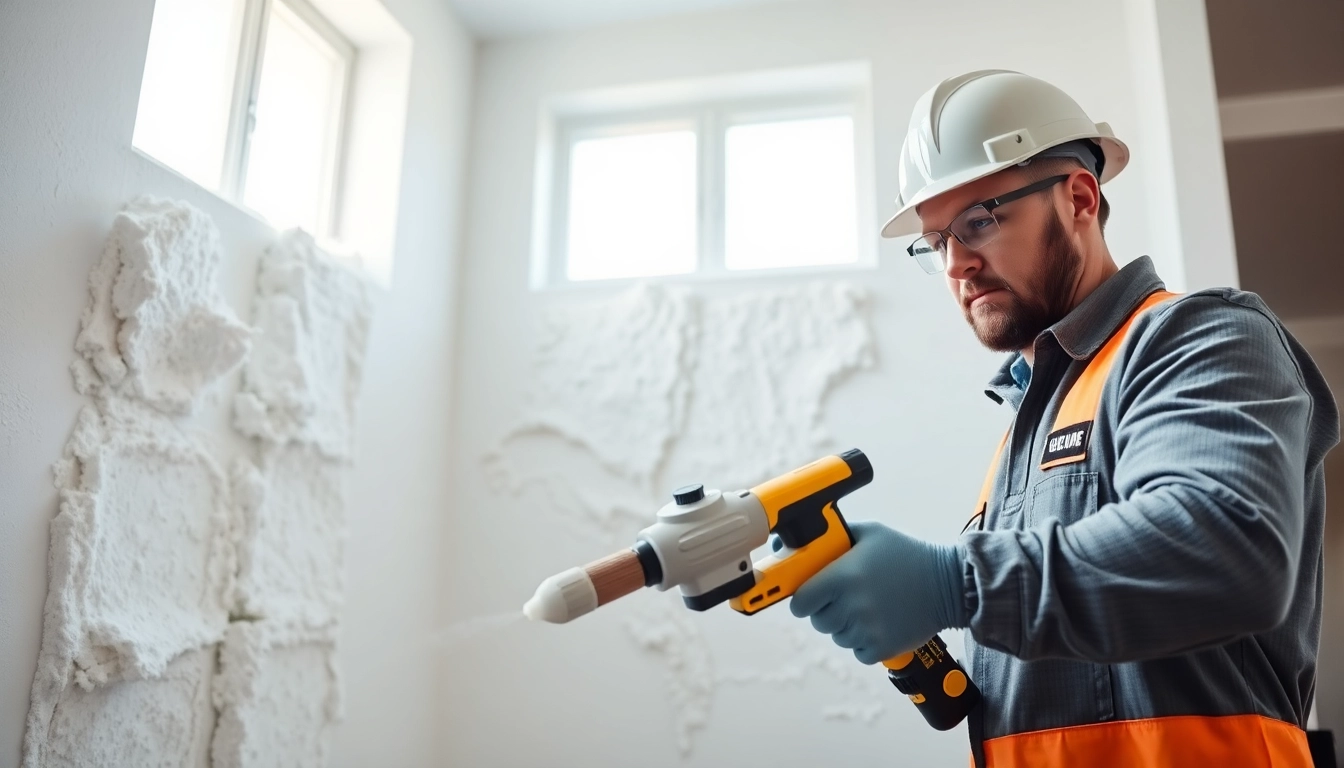
Spray foam insulation is a popular insulating material made from a mixture of chemicals that expand upon application. It is widely used for sealing gaps and cracks in buildings, enhancing energy efficiency by preventing heat loss in winter and keeping interiors cool in summer. Spray foam comes in two main types: open-cell and closed-cell. Open-cell foam is lighter and more flexible, ideal for interior applications, while closed-cell foam is denser and offers superior moisture resistance, making it suitable for exterior jobs. Despite its benefits, circumstances may arise where removal becomes necessary.
Why Remove Spray Foam?
There are several reasons why one might need to undertake spray foam removal London. Over time, insulation can degrade, become less effective, or cause unexpected issues like mold. Poor installation can lead to air leaks, reduced energy efficiency, or structural damage. Homeowners may need to remove spray foam to renovate or upgrade insulation systems. Additionally, moving electrical wiring or plumbing systems may require insulation removal to facilitate repairs or remodels. In short, understanding when and why to remove spray foam is crucial for maintaining a healthy living environment.
Risks of Improper Removal
Improper removal of spray foam insulation poses several risks, including damaging underlying structures, which can lead to costly repairs. Additionally, mishandling could release harmful fumes or particles into the air, posing health risks to the removal team and occupants. There’s also the risk of leaving residues that can create inferior surfaces for new materials, impacting adhesion and performance. Thus, it’s essential to approach spray foam removal carefully and methodically.
Preparation for Spray Foam Removal London
Gathering Necessary Tools
Before commencing spray foam removal, it’s vital to gather the right tools. Essential items include:
- Utility Knife: Useful for cutting the foam from surfaces.
- Heat Gun: Helps in softening the foam, making it easier to scrape off.
- Scrapers: Different sizes can help remove foam from various surfaces effectively.
- Safety Gear: Goggles, gloves, and respiratory protection to shield against fumes and debris.
Having these tools on hand ensures a more efficient process and minimizes the risk of injury.
Safety Precautions to Consider
Safety should be a top priority during spray foam removal. The following precautions are essential:
- Ensure the area is well-ventilated to avoid inhaling harmful fumes.
- Use protective clothing and equipment to guard against skin irritation and respiratory issues.
- Establish a safe work environment by marking off the area and ensuring no bystanders are present.
- Consider professional assistance if the job appears overwhelming or hazardous.
By following these precautions, the risk of accidents and health hazards can be significantly reduced.
Evaluating the Area
Before starting, assess the space where spray foam will be removed. Look for:
- Extent of Insulation: Determine how much spray foam needs to be removed and its condition.
- Underlying Surfaces: Assess the integrity of walls or ceilings where foam is installed.
- Accessibility: Ensure that the removal area is easy to access, allowing for smooth operation.
Proper evaluation not only aids in planning but also allows for a better understanding of potential challenges that may arise during the removal process.
Step-by-Step Process of Spray Foam Removal London
Technical Techniques for Effective Removal
To effectively remove spray foam insulation, follow these steps:
- Identify the type of Spray Foam: Understanding whether it’s open-cell or closed-cell will determine the removal approach.
- Prepare the area: Clear the workspace of any obstructions and lay down drop cloths to catch debris.
- Heat application: Use a heat gun to soften the foam, focusing on edges for easier peeling.
- Cut and scrape: Carefully cut into the foam using a utility knife and scrape off using a scraper. Work in thin layers to prevent damage.
- Clean up: Remove any remaining residues or debris using solvents or adhesive removers as necessary.
By sticking to this systematic process, efficiency and effectiveness can be ensured.
Common Challenges You Might Face
While attempting spray foam removal, you may encounter several challenges:
- Stubborn Adhesive: Sometimes, foam can adhere tightly to surfaces. Heating it greatly helps in loosening it.
- Surface Damage: In some cases, walls or ceilings could get damaged during removal; using fewer aggressive techniques minimizes this risk.
- Health Hazards: Fumes can be toxic; thus, ensuring a well-ventilated space and using safety gear is crucial.
Identifying potential challenges in advance allows you to prepare solutions and have backup plans for optimal safety and performance.
Post-Removal Cleanup
Once the spray foam has been removed, thorough cleanup is crucial to prepare the area for any new installations or renovations. Steps include:
- Vacuum the area: Use a HEPA vacuum to gather small debris and dust particles generated during the process.
- Clean remaining surfaces: Use appropriate cleaning agents to remove any residues and ensure the surfaces are immaculate.
- Inspect for damage: Check walls and ceilings for any lingering problems that require repairs.
- Assess for mold: This is crucial because leftover moisture can lead to mold growth that affects indoor air quality.
A comprehensive cleanup not only prepares the space for the next steps but also contributes to a healthier environment.
Cost and Time Implications
Estimated Costs for Professionals vs. DIY
When considering spray foam removal, one must evaluate whether to undertake the task themselves or hire professionals. Costs vary significantly:
- DIY Removal Costs: Depending on your tool acquisition and time investment, DIY projects can range from a few hundred to a couple of thousand pounds.
- Professional Services: Hiring a professional service typically ranges from £1,500 to £3,500 depending on factors like the size of the space, foam type, and local pricing.
While DIY might save money, it is essential to weigh potential risks and complications against these initial cost savings.
Timeframe for Different Projects
The timeframe for spray foam removal varies widely based on the complexities of the job:
- Small DIY Projects: Simple removals can take a few hours to a day.
- Larger Areas: More extensive spaces or challenging installations may require multiple days.
- Professional Jobs: Complex jobs handled by professionals could finish within one to three days, contingent upon size and condition.
Evaluating time requirements is critical for scheduling and planning subsequent projects.
Factors Affecting Removal Costs
Several factors affect the overall costs associated with spray foam removal:
- Type of Spray Foam: Closed-cell foam might cost more to remove due to its density.
- Access: Difficult-to-reach areas can increase labor time and costs.
- Extent of Insulation: Larger areas will naturally lead to higher costs.
- Local Rates: Pricing may vary based on location and service demand in your area.
Understanding these factors can assist in budgeting and planning effectively for spray foam removal projects.
FAQs about Spray Foam Removal London
How long does spray foam removal take?
The time varies based on the area size and foam type but typically ranges from a few hours to a complete day.
Is spray foam removal safe?
Yes, when done correctly using proper safety gear and techniques, it is safe for professionals and homeowners.
What tools do I need to remove spray foam?
Common tools include a heat gun, utility knife, scrapers, and safety equipment like goggles and gloves.
Can I do spray foam removal myself?
While DIY is possible, hiring professionals ensures safety and efficacy, especially for larger areas.
Will I need to repair walls after removal?
Yes, wall repairs are often necessary as the removal process can damage surfaces; expect patching or repainting.